Snowflake
To integrate Konstellation with Snowflake, you will need to:
- Create a read-only role and a user (service account), so Konstellation can access your Snowflake instance.
- Grant privileges to the databases and schemas you want to integrate
- Add the Snowflake connection to Konstellation.
Run the following commands in a Snowflake worksheet. You will need either ACCOUNTADMIN or SYSADMIN permissions to run the following commands:
Define Variables
All variables except password must be in CAPS.
SET ROLE_NAME = '<KONSTELLATION_ROLE>';SET USER_NAME = '<KONSTELLATION_USER>';SET USER_PASSWORD = '<Strong_Password_Here>';SET WAREHOUSE_NAME = '<XS_WAREHOUSE_FOR_KONSTELLATION>';Create Warehouse
This warehouse will be used by the Konstellation user to access and read your data.
CREATE WAREHOUSE IF NOT EXISTS IDENTIFIER($WAREHOUSE_NAME)WAREHOUSE_SIZE = 'X-SMALL'AUTO_SUSPEND = 5AUTO_RESUME = TRUEINITIALLY_SUSPENDED = TRUE;For more info on Warehouse creation, check out Snowflake’s documentation
Create Role
Create a read-only role to be granted to the Konstellation user within your Snowflake account. Grant permissions to use the recently-created warehouse.
-- Create role for Konstellation userCREATE ROLE IF NOT EXISTS identifier($ROLE_NAME);
-- Grant warehouse usage to the Konstellation roleGRANT USAGE, MONITOR ON WAREHOUSE IDENTIFIER($WAREHOUSE_NAME)TO ROLE IDENTIFIER($ROLE_NAME);
-- Grant access to query historyGRANT IMPORTED PRIVILEGES ON DATABASE "SNOWFLAKE" TO ROLE IDENTIFIER($ROLE_NAME);
Grant access to the data you want to monitor
For each database, schema you want Konstellation to monitor, replace the variables below and run the following set of commands:
-- Read-only access to specific schemasset DATABASE_NAME = 'DATABASE_TO_MONITOR'; -- Replace with databases you want Konstellation to monitorset SCHEMA_NAME = 'DATABASE_TO_MONITOR.SCHEMA_TO_MONITOR'; --Replace with schemas you want Konstellation to monitor
grant USAGE on database identifier($DATABASE_NAME) to role identifier($ROLE_NAME);grant USAGE on schema identifier($SCHEMA_NAME) to role identifier($role_name);grant SELECT on all tables in schema identifier($schema_name) to role identifier($ROLE_NAME);grant SELECT on future tables in schema identifier($SCHEMA_NAME) to role identifier($ROLE_NAME);grant SELECT on all external tables in schema identifier($SCHEMA_NAME) to role identifier($ROLE_NAME);grant SELECT on future external tables in schema identifier($SCHEMA_NAME) to role identifier($ROLE_NAME);grant SELECT on all views in schema identifier($SCHEMA_NAME) to role identifier($ROLE_NAME);grant SELECT on future views in schema identifier($SCHEMA_NAME) to role identifier($ROLE_NAME);grant SELECT on all streams in schema identifier($SCHEMA_NAME) to role identifier($ROLE_NAME);grant SELECT on future streams in schema identifier($SCHEMA_NAME) to role identifier($ROLE_NAME);
Create User and Grant Role
CREATE USER IF NOT EXISTS IDENTIFIER($USER_NAME)PASSWORD = $USER_PASSWORDDEFAULT_ROLE = $ROLE_NAMEDEFAULT_WAREHOUSE = $WAREHOUSE_NAME;
--Grant the role to the newly created User.GRANT ROLE IDENTIFIER($ROLE_NAME) TO USER IDENTIFIER($USER_NAME);
Add the Snowflake connection to Konstellation
First, grab your Snowflake account identifier. In most cases, the URL for an account uses the following format:
account-identifier.snowflakecomputing.com OR, app.snowflake.com/account/identifier
This account identifier is made up of 2 components, referred above as (1) account and (2) identifier. Your account name will concatenate both with a dash, account-identifier
If you need more help, check out these instructions to find it.
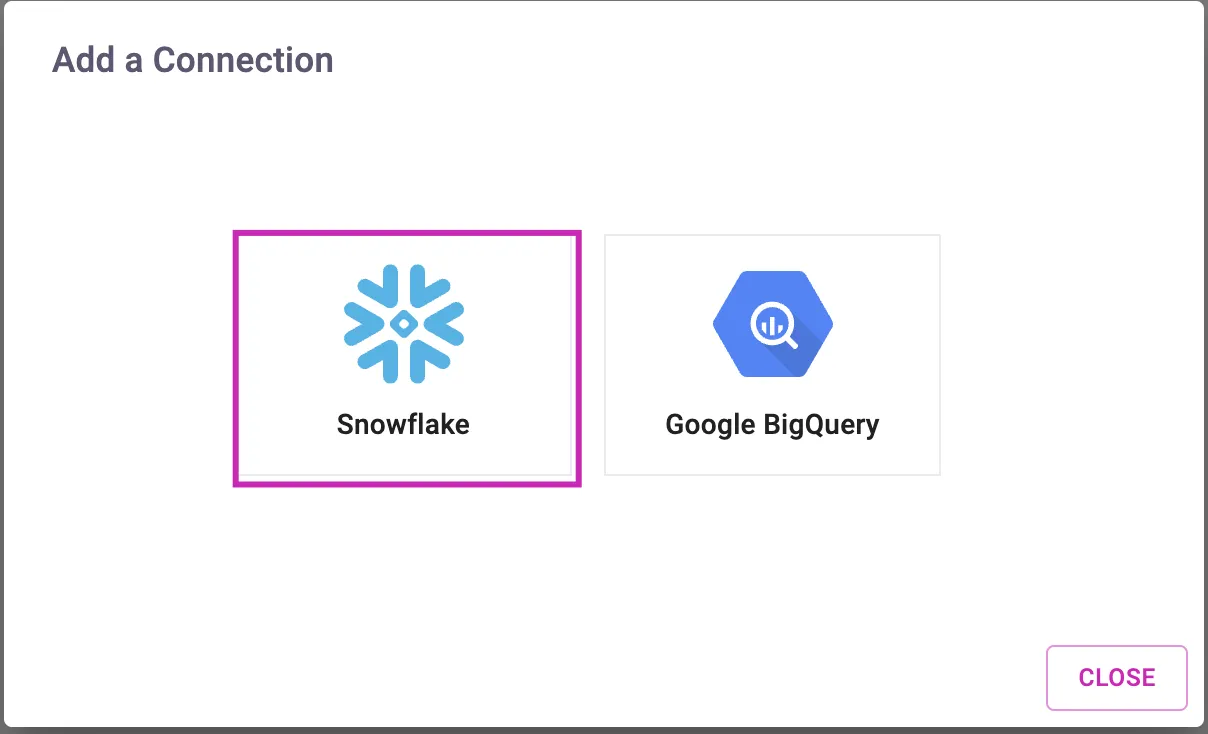
Once you are in the “Connections” tab, click “Add Connection”, choose Snowflake, and then provide the following details:
| Connection Name | A friendly name to identify this connection within Konstellation. You can change this in the future if you wish. |
| Account Name | Your Snowflake Account Identifier, as identified in the previous step |
| User Name | The user name created through the script, $USER_NAME |
| Password | The password provided through the script, $USER_PASSWORD |
| Warehouse Name | The name of the warehouse created, $WAREHOUSE_NAME |
| User Role | The name of the role created with the necessary access, $ROLE_NAME |
Once you have added all details, Click on “Test Connection” and ensure the message says Successfully Connected:

If you have any issues with connection at this point, please Contact Us for assistance.
After that, click “Create” and you are ready to go.